How to Weld Plastic with Plastic Welding Tools?
- Share
- Issue Time
- May 16,2022
Summary
Creating a mix of plastics can be a daunting task, especially if you're new to it. However, this process can be easily accomplished by following the steps mentioned below.
Plastic welding is the process of joining softened thermoplastic surfaces using heat from a plastic welder. When compatible thermoplastics are heated, they create molecular bonds that cause the plastic to form. During production, you have to press the surface, heat and pressurize it, and then cool it down.
Creating the perfect mix of plastics can be a daunting task, especially if you're new to it. However, this process can be easily accomplished by following the steps mentioned below.
1. Start by cleaning and setting up your workspace
Set up your workspace in a well-ventilated area: The first step in any kind of welding task is to protect yourself. Wear protective gear and make sure you are in a well-ventilated space before starting work. Wear long-sleeved clothing and heat-resistant gloves for protection
Wash debris off the plastic with soap and warm water: Removing all impurities from the plastic will eliminate any weak spots in the soldering process. After washing plastics, you should dry them with a clean or lint-free cloth.
Use a liquid solvent to remove stubborn stains from plastic. The best liquid solvent to use is methyl ethyl ketone (MEK).
Mark your correct choice of plastic: If you examine the plastics around you, you will notice that each plastic has a different letter. These letters are identifiers for the type of plastic.
For example, the letters PP stand for polypropylene, PVC for polyvinyl chloride, and PE for polyethylene. These letter identifiers should be the basis for choosing the best rod to match a specific plastic type. For example, if you are adding polyethylene, you will need a polyethylene rod.
Use a welding rod test kit: If you are not sure about the plastic you have, use a welding rod test kit. These stick test kits can differentiate between different types of plastics. To do this test, choose a rod that is very similar to the plastic you choose during the test.
Next, heat one end of the wand and attach it to a clean surface of the plastic. Try using a pair of plastic to pull it off the rod and watch the reaction. If the rod and plastic stick together, it means they are made of the same material. Considering that only one electrode is compatible with the plastic, the welder must check the reference letters carefully before starting work.
Use a piece of 80-frit sandpaper to extract any paint from the plastic: Rub the sandpaper back and forth across the plastic surface. You can use a grinding wheel or a sanding disc attached to sandpaper to reduce sanding work. A paint scraper can also be used for this exercise.
Clamp the plastic pieces together and tape the joints in place: make sure the desired joints are formed before turning on the flashlight. Continue placing the plastic pieces on the bench while holding them close to each other.
Then, use the C-clamps to attach the pieces to the table. Remember to wrap a layer of foil around the pieces to keep them tightly pressed together. For best results, do not cover the area to be soldered.
2. Add plastic
Preheat the torch for at least 2-3 minutes: different plastics melt at different temperatures. Therefore, you should set the soldering temperature according to the material to be soldered. The recommended temperature range is 200℃ to 300℃ or 390℉ to 570℉.
Exposing the plastic to these temperatures may result in the plastic not melting efficiently. In extreme cases, these plastics can burn completely. Remember that welding plastics like PP requires you to heat the torch to 300℃ or 570℉. The recommended temperature for melting PVC is 275℃ or 527℉, while the recommended temperature for PE is 265℃ or 509℉.
Spot weld the plastic ends to hold them together: Hold any loose plastic together by melting the ends of the joint. You can do this by attaching a spot welding nozzle to the torch and applying some heat. Once the plastic starts to melt, join the pieces together. This procedure prevents the plastic from moving unnecessarily during the welding process.
Use pliers to trim the end of the electrode: Point the pliers diagonally towards the electrode and cut. Alternatively, you can use a trimmer instead of pliers. Trimming the ends of the electrode increases the chance of getting a smooth and stable weld.
It also prevents large plastic bubbles from forming once you start welding. Always allow the torch to cool down when changing the nozzle and inserting a new electrode. When starting to solder again, make sure to heat the torch to the recommended temperature.
Insert the electrode at the high-speed nozzle of the welding gun: The nozzle is designed to hold the electrode in place while welding. If your gun doesn't have a nozzle, you need to buy it ASAP. Once the nozzle is attached to the plastic torch, place the rod over the other opening at the top. Make sure to place the collet first as you will be using this site at the start of the weld.
Avoid touching the stationary nozzle as it is still hot and can cause severe burns. Using a high-speed nozzle, the electrode is fed into another opening during the welding process. You can also use a weaving weld to melt the rod if the weld is in a tight spot. Welders must understand that weaving welding takes longer than normal torches with high-speed nozzles.
Gradually move the speed gun onto the plastic: make sure to start at the top of the crack or where you want the plastic to be. To complete the welding process, you should hold the gun at a 45-degree angle with the edge of the nozzle facing the plastic.
Push the torch along the joint to heat the plastic until it melts. You can use your other free hand to install the rod inside the joint at a slow pace. By doing this, the plastic melts easily without burning it. If you notice a change in color, consider increasing the speed of the torch.
When swing welding, swing the torch back and forth: swing the nozzle about 2.5cm above the seam or crack. Tilt the torch 45 degrees while placing the electrode at the same angle but from the opposite side. Repeat this process until soldering is complete.
Alternatively, you can use a basic propane torch instead of a plastic heat gun. Propane torches work best on joints that cannot be easily reached by high-velocity nozzles. For best results, make sure you control both the welding torch and the welding torch. To enhance the gradual melting of the plastic, you should constantly swing the torch rapidly.
3. Complete the welding
Let the plastic cool for at least 5 minutes: Allow the plastic to cool to room temperature before continuing to handle it. One advantage of welding plastics is that they take a very short time to cool. The most basic way to determine if molten plastic has cooled to the desired temperature is to hold it close to your body. Zero heat means it's ready to keep you working.
Make sure to repair the weld before it cools completely. If the plastic being welded is not smooth enough, add more electrodes. Keep the weld in a safe place, preferably on a heat-resistant surface, until it cools completely.
Sand the welded joints: For consistency, sand rough ridges with 12-grit sandpaper. Sanding will ensure the plastic and joint are flat. It also prevents scratching the surrounding plastic. Welders can use a rotary tool attached to the grinding wheel to speed up the sanding process. Make sure you sand carefully as plastic is soft and scratches easily.
Finish the plastic with 180/320-Grit sandpaper: The sandpaper will help you clean up your welds. 180 and 320 grit sandpapers are known for their ability to produce high-quality grit. While this type of sandpaper can wear slightly, welders need to be extra careful as they can still scratch the plastic.
The procedure for sanding with 180/320 grit sandpaper should be similar to 120 grit sandpaper. Rub the weld until it is smooth to the touch and has a consistent appearance. As you upgrade to higher and finer plastics, start sanding mixed plastics with low-grit sandpaper. When doing this, you'll save the higher sandpaper for finishing tasks. You should note that lower-grit sandpaper is generally coarser than higher-grit sandpaper.
Overall, learning how to weld plastic is incredibly innovative and has become an ideal way to invent infinite things. These items are an integral part of our daily lives. The plastics industry also employs a large workforce, providing income and livelihoods for millions of people.
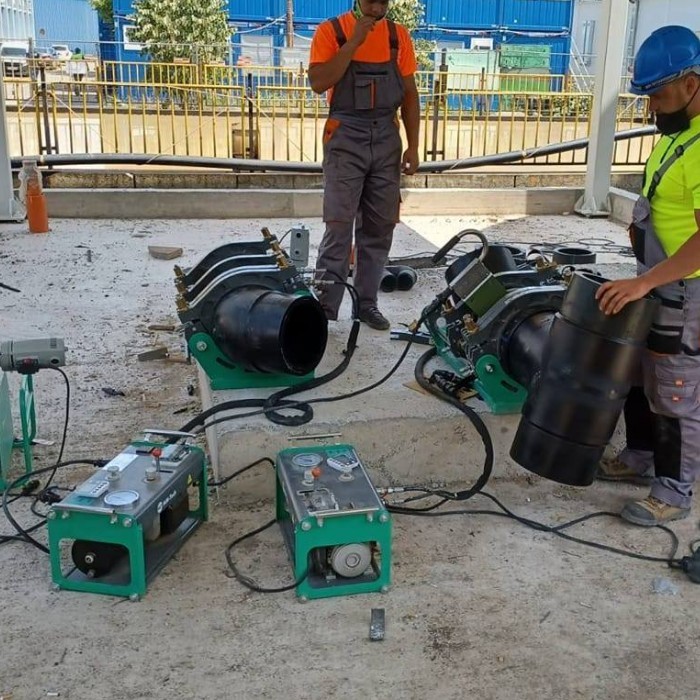
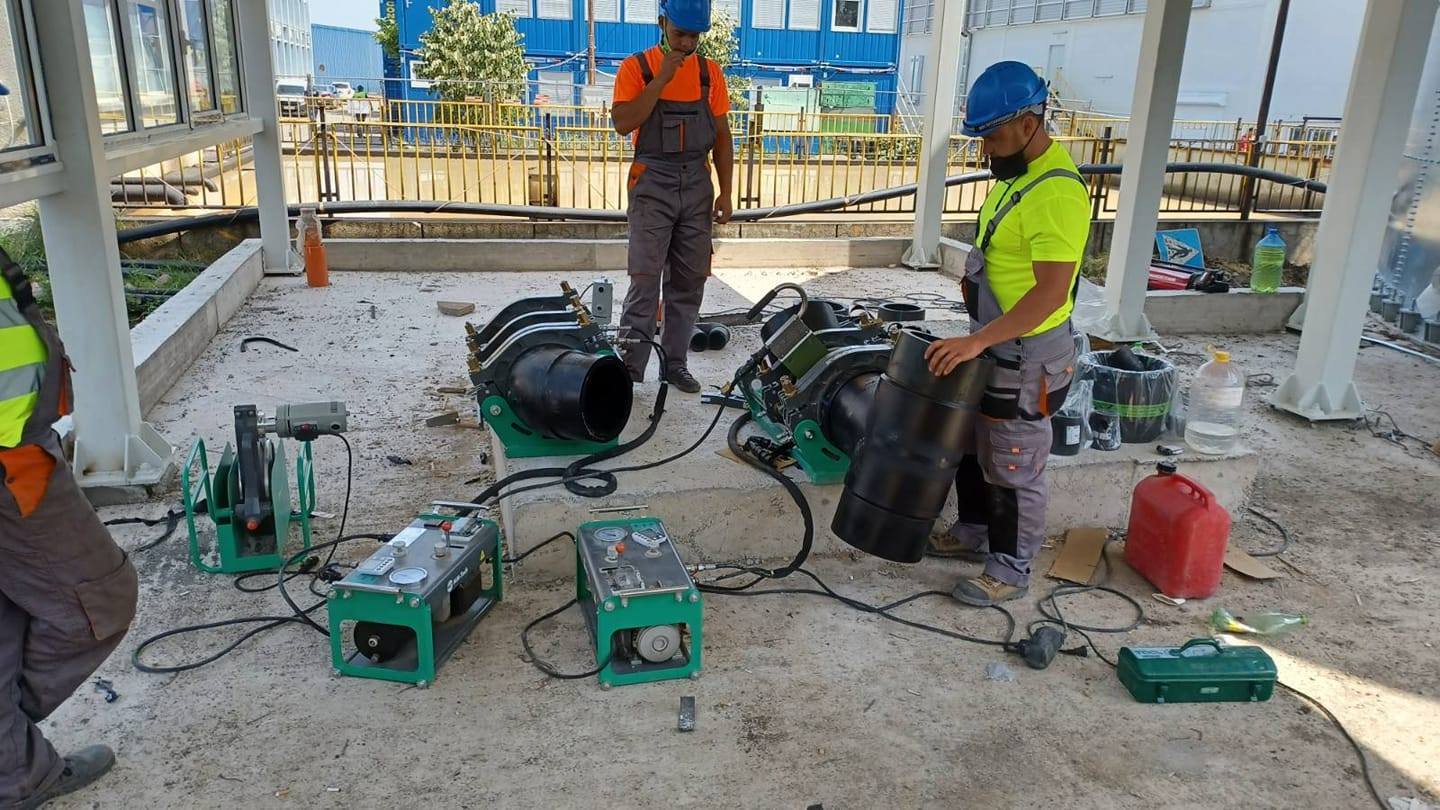
The above are the steps of welding plastic in a plastic welding machine, if you plan to buy a plastic welding machine, please contact us.
RIYANG is a professional custom plastic welding machine manufacturer. We offer a wide range of products to meet the needs of field and workshop projects. Our products operate all over the world due to reliability, creativity, and cost-effectiveness. At RIYANG, we are committed to making reliable machines for every application and making sure your choice is the right one.